 StarSiftaccount
New picture takes a night's frames to a finished picture with as few decisions as possible. It is the first item in the sidebar, and a fresh install opens on it. The tutorial walks through it with an example; this page says what each step does and what you can change.
1. Your frames
Add the folders the frames are in: drop them on the page, use Add a folder…, or paste a path and click Add. Add everything from the night: lights, darks, flats, dark flats and bias, single frames or masters. FITS, XISF and camera RAW files are read.
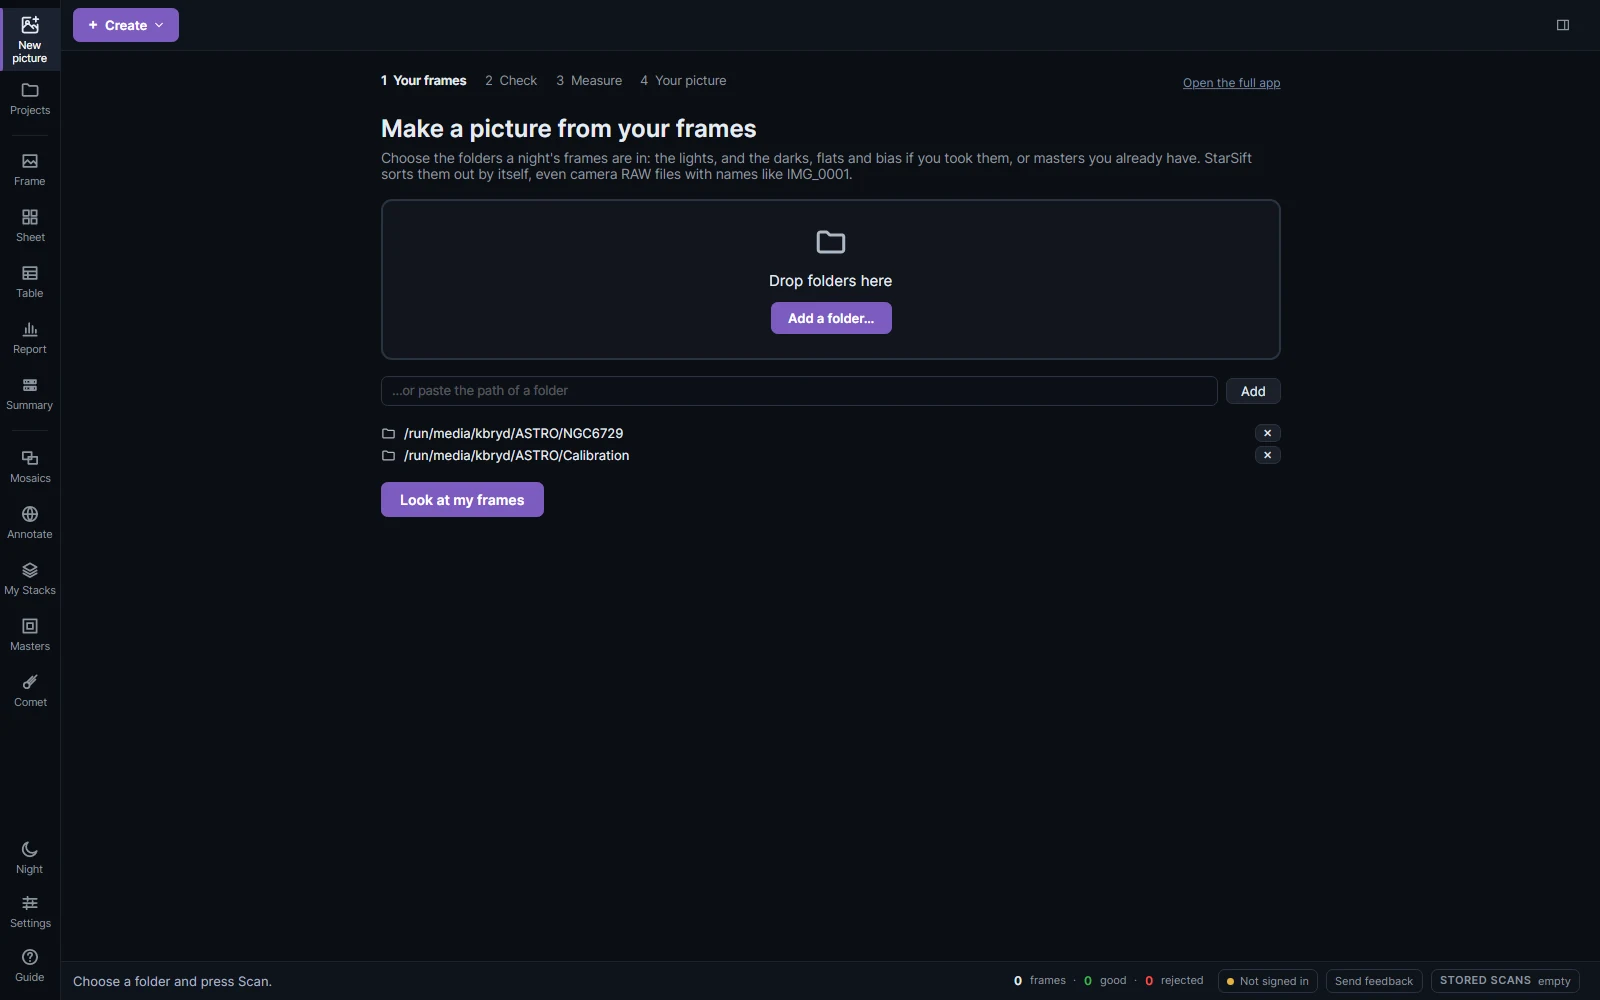
Look at my frames reads every file once and sorts it into lights and calibration frames by its header (IMAGETYP, exposure, filter), or by its pixels when the header does not say. Lights read now are measured at the same time, so step 3 does not read them again.
2. Check
The cards at the top count what was found: light frames and their exposure, darks, flats, bias, as single frames or masters. A card with an amber line has something to look at; hover it.
What we will make shows the picture the filters lead to, as a recipe of filter chips: Color for a color camera, L + R + G + B for LRGB, Ha + OIII for a dual-band filter, and so on.
The Calibration grid has a row for each set of lights (filter, exposure and night) and a column each for dark, flat and bias:
| Mark | Meaning |
|---|---|
| Tick (green) | A master fits: same camera, size, gain and temperature; for a flat, the same filter. |
| Wave (blue) | Close enough: a dark of another exposure, scaled to the lights, for example. |
| ! (amber) | It may not fit; hover to read why (a flat much older than the lights, say). |
| Cross (red) | Nothing fits. The set is stacked without it. |
| Dash (grey) | Not needed: no bias when the dark matches the lights' exposure. |
A problem is said once below the grid with how to mend it. A flat whose filter is not named gets a chip for each filter to click (the answer is kept with the master). A missing master gets an add button (Add darks…, for example) that takes master files or single frames; single frames are made into a master before stacking, in a masters folder beside them. or a folder… reads a whole folder instead. Untick a row to leave its set out of the picture.
3. Measure
Every light is measured: star count and size (FWHM), trailing, cloud (how much dimmer the stars are than the night's clear frames), halos, sky brightness and altitude. The Balanced screening profile then rejects frames that fall short of the rest of their night; see Frames and screening.
Skip measuring stops measuring and reads only the remaining frames' headers, which takes seconds. Frames measured before you clicked keep their verdicts; the others are all stacked, unchecked. The stack's outlier rejection still removes satellite trails and hot pixels.
4. Your picture
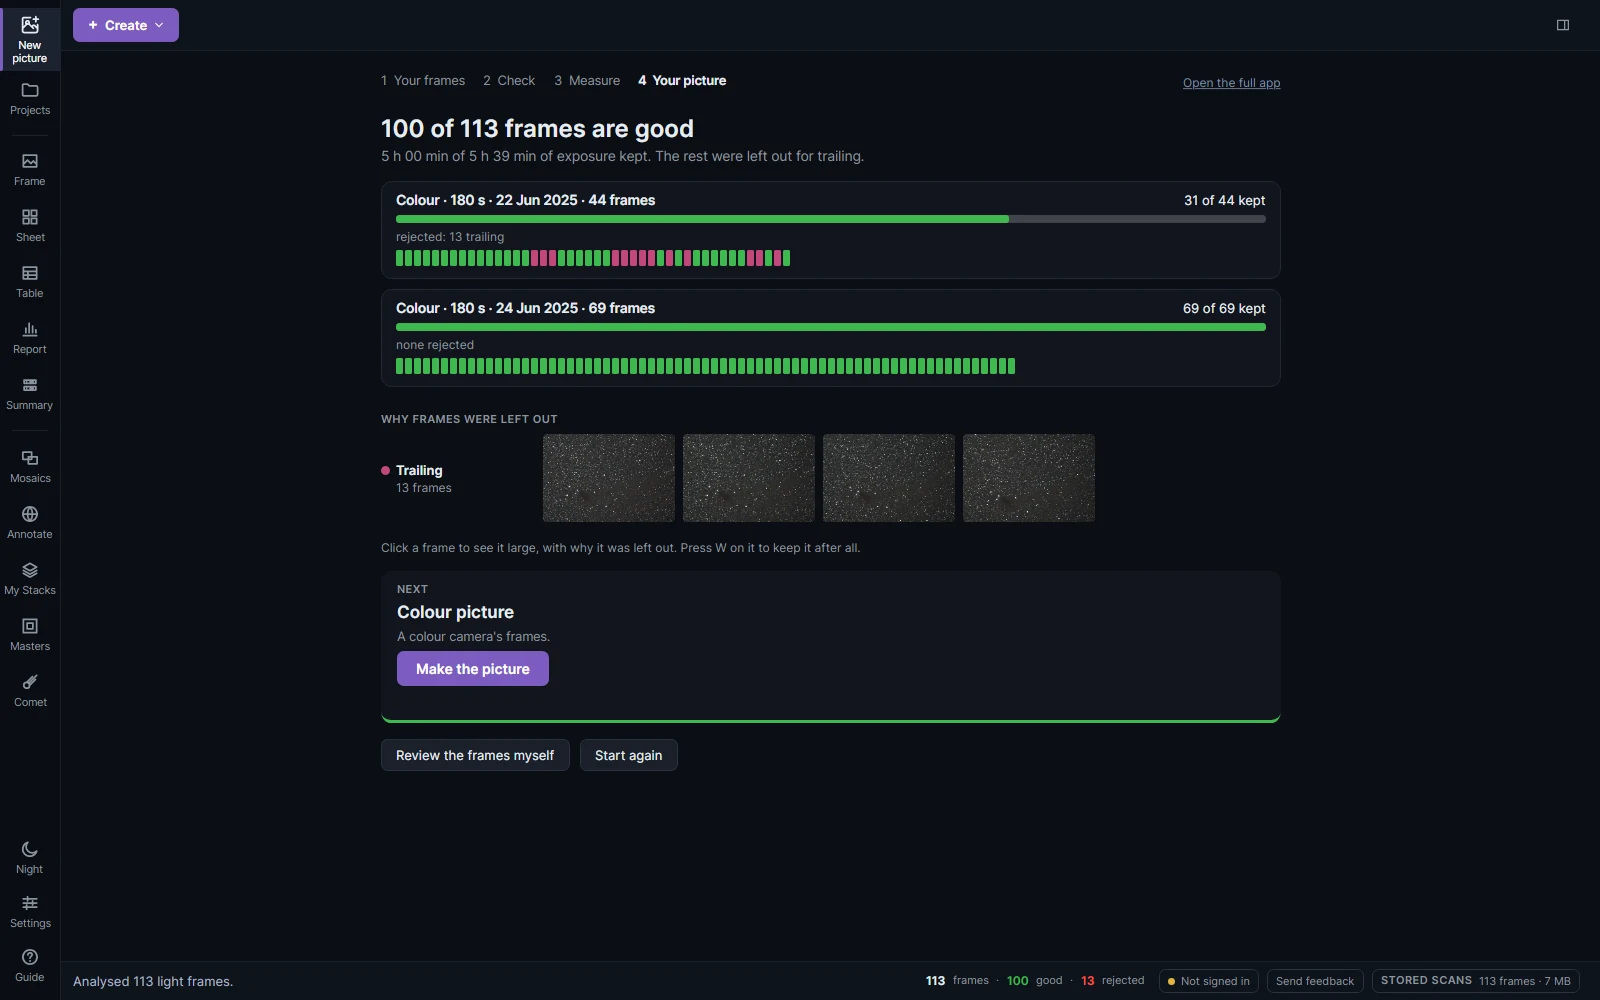
A bar per set shows its frames in time order, green for good and colored by the reason for the others. Why frames were left out shows a few frames of each reason; click one to open it on the Frame page with its reasons, and press W there to keep it.
Make the picture pins the masters to their nights (as Assign masters would, so a later stack of those nights is calibrated the same way) and opens the workflow that suits the filters. It runs through without stopping and opens the result in the editor. Review the frames myself goes to the frame pages instead; Start again clears the page.
The same picture can be made later from the main window: + Create → Stack on the frames on screen, or a target's Workflows….