 StarSiftaccount
The editor finishes a picture: the stretch, color, contrast, sharpening and noise, the stars, a crop, a title. It opens on a workflow's result, a stack, a color picture or any file you open in it (+ Create → Open in the editor…): a FITS, XISF or TIFF stack, a camera RAW frame, or a finished JPEG or PNG for the last touches.
Linear data, drawn stretched
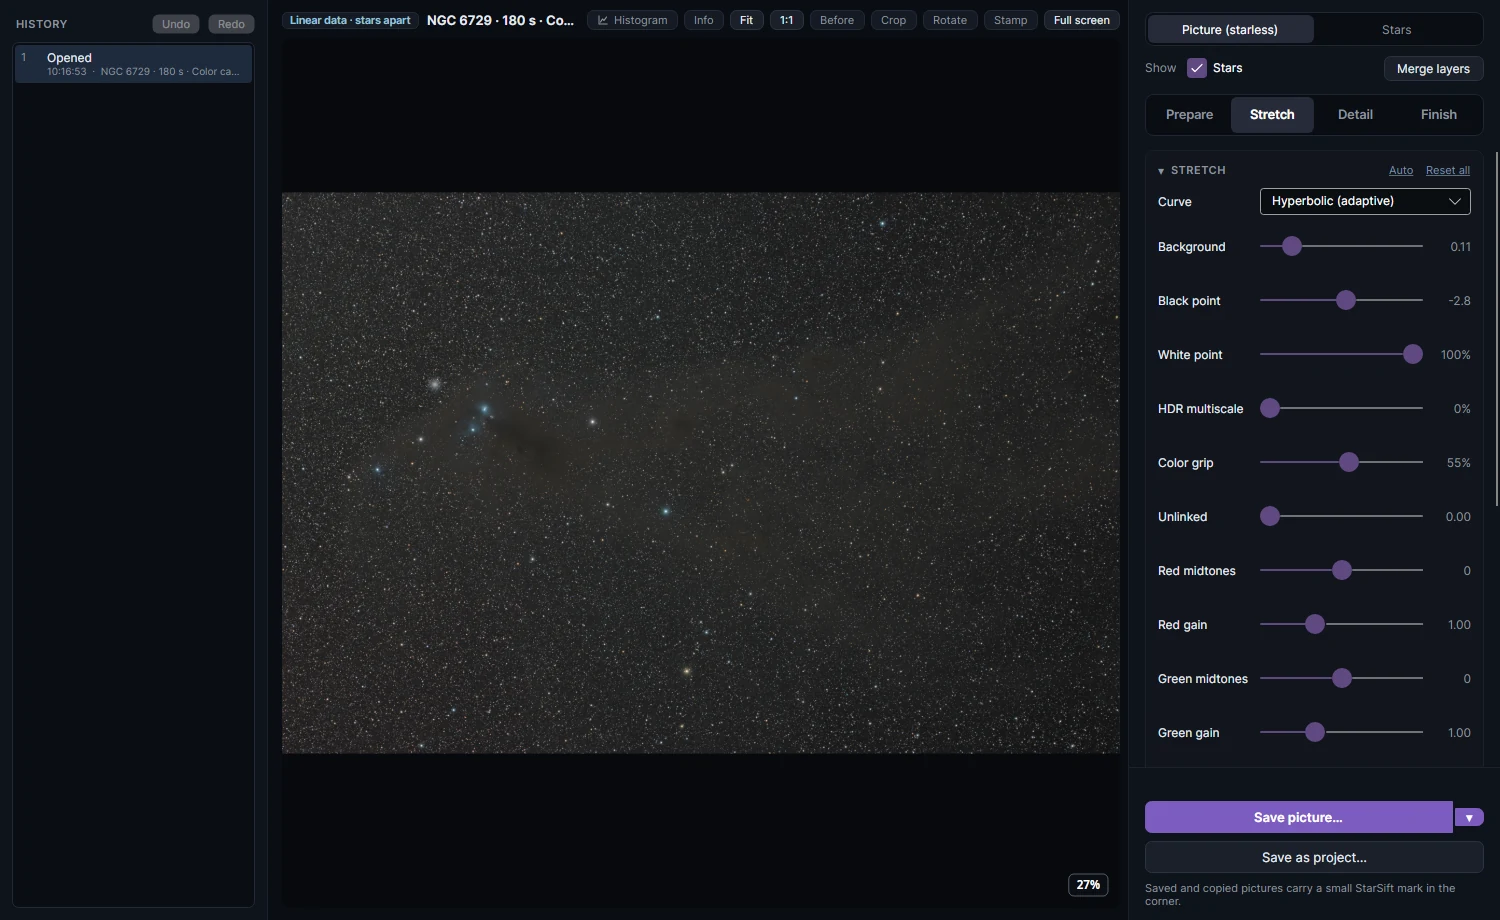
A stack's data is linear: the numbers are the light the camera counted, and almost all of it is too faint to see. The editor keeps the data linear and draws a stretch over it, so every slider can go back and forth without losing anything; the badge above the picture says Linear data. Tools such as sharpening and noise reduction change the data itself, and become steps in the history. How the stretch is chosen explains the picture you see when the editor opens.
Layers
When the stars are taken out (by the workflow, or Star separation on the Detail tab), the picture is two layers, chosen at the top of the panel:
| Layer | What it is |
|---|---|
| Picture (starless) | The nebulosity, galaxies and sky, without the stars. |
| Stars | The stars alone, stretched on their own and put over the picture. |
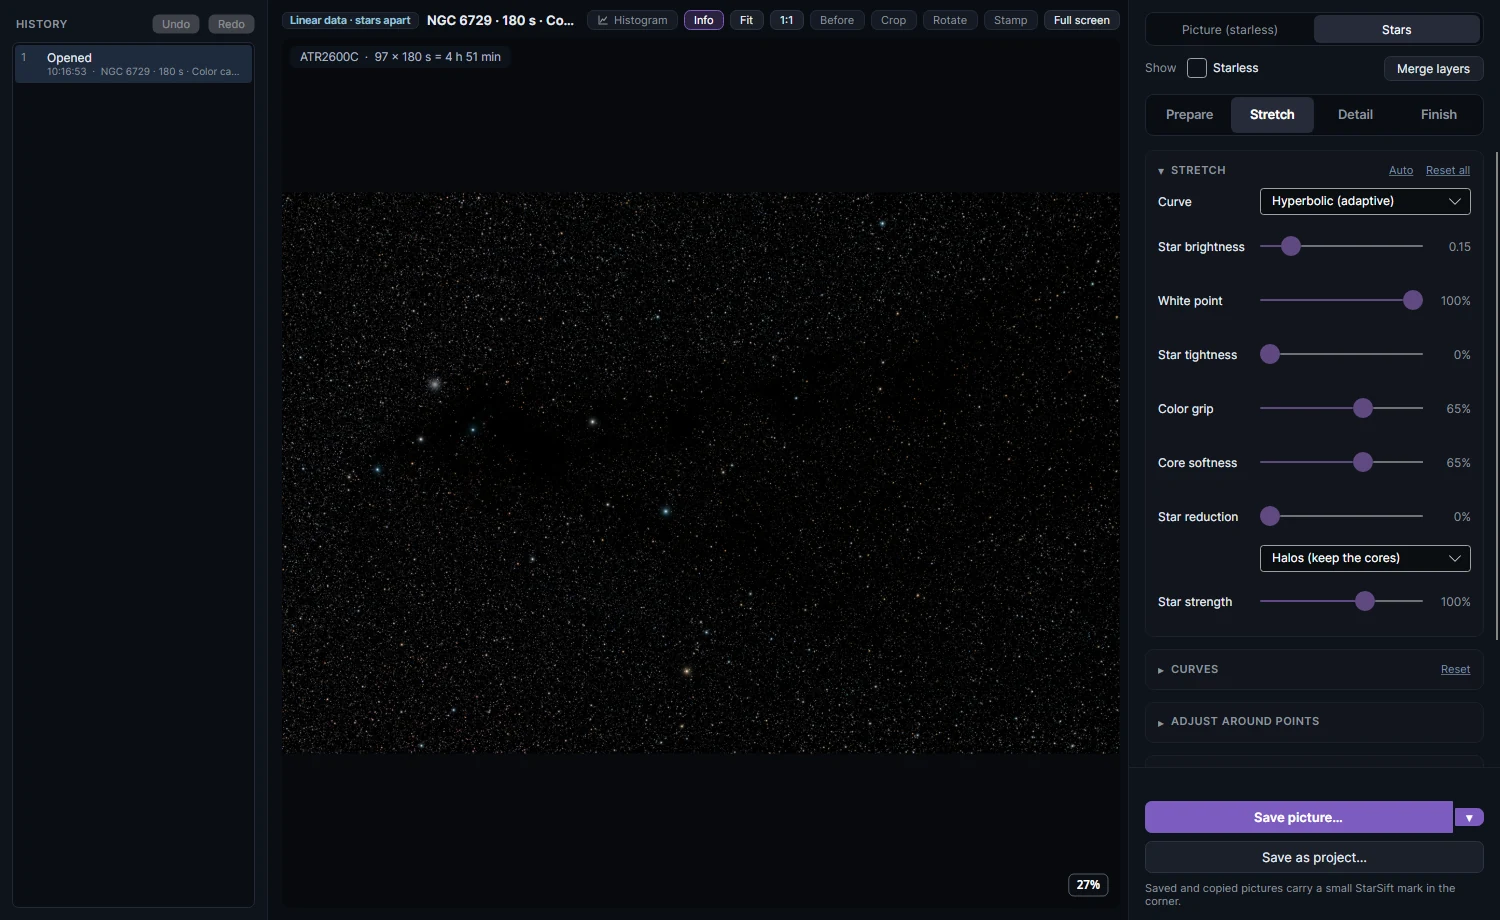
The tools work on the layer selected. Show hides the other layer while you work (a saved picture always has both). The stars are laid over the picture with a screen blend, which only brightens, so the stars never darken the sky. Merge layers joins them into one, as they look now, to work on the whole picture; Undo splits them again.
Adding an Ha or OIII layer
The + at the end of the layer bar adds a narrowband line to a color picture: an OIII stack to an LRGB picture, say, or the Ha of another night. Pick one of your saved stacks of the target (those whose filter is Ha or OIII, and the Ha and OIII of a color camera's dual-band stack), or Ha from a file… / OIII from a file… for any FITS, XISF or TIFF of the same field. It may be another size or scale.
StarSift then treats it the way a workflow's blend step does:
- It lines the stack up with the picture by the stars.
- It measures how bright its stars are against the picture's red (for Ha) or green and blue (for OIII), which is how much of it is ordinary starlight and not emission.
- It takes its stars out, when a star remover is set up. Without one, most of its stars are cancelled by the measurement above.
- It blends the line's emission into the color: Ha into the red, OIII into green and blue.
The line becomes a layer of the bar, as a workflow's Ha does. Select it and Stretch and Detail work on the line alone (remove its gradient there, or paint over a blemish), and Blend sets how much goes in. Adding a line of a kind that is already there replaces it, and Undo takes the layer out again. Add a layer before merging the layers; a merged picture is no longer linear. Sharpening, noise reduction, gradient removal and add-on tools on the picture work on it without the lines, which are then blended over the result again, so the lines stay tunable: sharpen and denoise each line in its own window, and the picture on its own. A stamp stroke, color calibration or star separation on the picture changes it with the lines in, and after one of those the lines can no longer be taken out or tuned (that would leave marks) until you undo back past it.
To reduce an overpowering Ha layer, select Ha → Blend → Ha intensity. It scales the Ha's color, brightness and H-beta tint together: 100% keeps the full contribution, 50% adds half of it, and 0% leaves it out while keeping the underlying LRGB and any OIII. Into the red and Into the light still set the balance between color and brightness. The Ha layer's Stretch previews its linear data; darkening that preview does not scale the blend, except where areas become nearly black and are left out. Ha intensity is also available on a workflow's blend step and is saved with projects and workflow files; older files open at 100%. Faint glow (under Blend) lets in a line's faint glow over the whole field, such as the Ha round the Cocoon Nebula, which the blend otherwise leaves out because it takes only what stands over the noise pixel by pixel. The glow is taken from the line without its stars. It starts at 0, is also on the workflow's blend step, and is saved with projects and workflow files.
The four tabs
Prepare: on the linear data
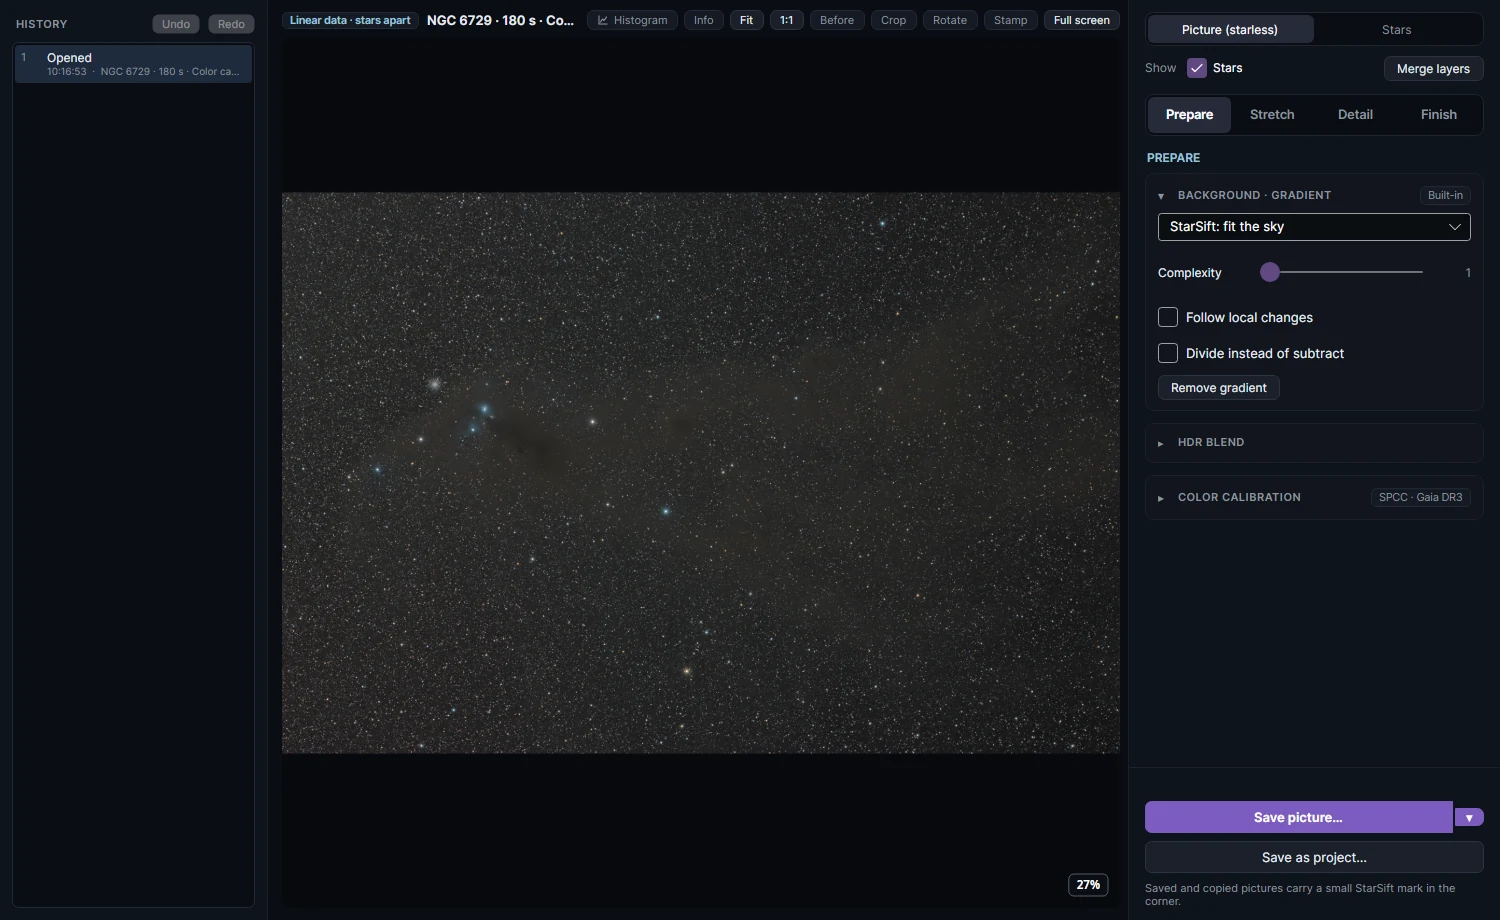
- Background · gradient takes the sky's gradient out: StarSift: fit the sky (built in, for a smooth gradient) or GraXpert's AI model, which tells nebulosity from gradient better. Complexity 1 is a tilted plane; raise it for a curved gradient. Follow local changes also takes out a local glow, and Divide instead of subtract is for vignetting and flat errors.
- HDR blend: Blend another exposure… lays a short exposure's bright parts (a nebula's core, a bright galaxy) into this picture. See Create.
- Color calibration: Calibrate star colors sets the red and blue gains from the stars, with SPCC (Gaia DR3 star spectra through your sensor and filters), PCC (flat passbands) or Stellar locus (no catalog). Or click Pick background… and then a patch of empty sky, which is made grey.
Stretch: brightness, tone and color
The stretch controls are in How the stretch is chosen. Below them:
- Curves: click to add a point, drag to move it, double-click to remove it.
- Contrast: Contrast for the whole picture (what is darker than its middle goes darker, what is brighter goes brighter, black and white stay) and Nebula contrast for what stands over the sky with the sky held where it is (left brings faint nebulosity and dark nebulae up); Shadows and faint nebula lifts the faint dust and the nebula's middle tones while the empty sky at the same level stays dark; Bright cores compresses the dynamic range of the parts brighter than most of the picture, so a galaxy's or nebula's core shows its detail (a globular cluster's core comes away from white while the Milky Way glow round it stays), or brightens them; Dark structures deepens dark dust lanes and globules; Fine detail brings out filaments over the sky's noise. Background protection says how much of the darkest level stays background (lower it for a field with no empty background).
- Color: temperature and tint (only the light over the sky changes, so the sky stays grey), saturation, Remove green and Remove magenta (each with its own slider, so a picture with a green cast in one part and a purple one in another can have both; the list under them sets how strongly both judge the neutral green), magenta halos.
- By color: saturation, brightness and hue of six colors on their own: turn green Ha towards gold in SHO, brighten a faint OIII. Pick color adds a color of your own (up to four): click the picture and it gets its own sliders. It reaches as far round the color wheel as Range says, which starts wide enough for how much the spot's color varies, and pale pixels are reached as well as vivid ones, so a faint bluish cluster glow can be taken to grey.
- Adjust around points: click the picture to adjust a region and the pixels near it with a similar color and brightness. The point works at full strength out to about 70% of its circle and fades over the rest. Selectivity at 0% takes the whole circle; higher, it keeps the share of the circle most like the clicked color and brightness (about half at 50%, the closest twentieth at 100%). Area moves finely for small regions, and the mouse wheel over the picture sizes the selected point (Ctrl+wheel zooms).
- Adjust by mask: adjust only what a mask selects: by brightness or by color.
On the Stars layer the stretch has Star brightness, Star tightness (fades the faint parts of each star), Core softness (against orange rings round white cores), Star reduction (erodes the stars; halos only or whole stars) and Star strength.
Detail: stars, sharpening and noise
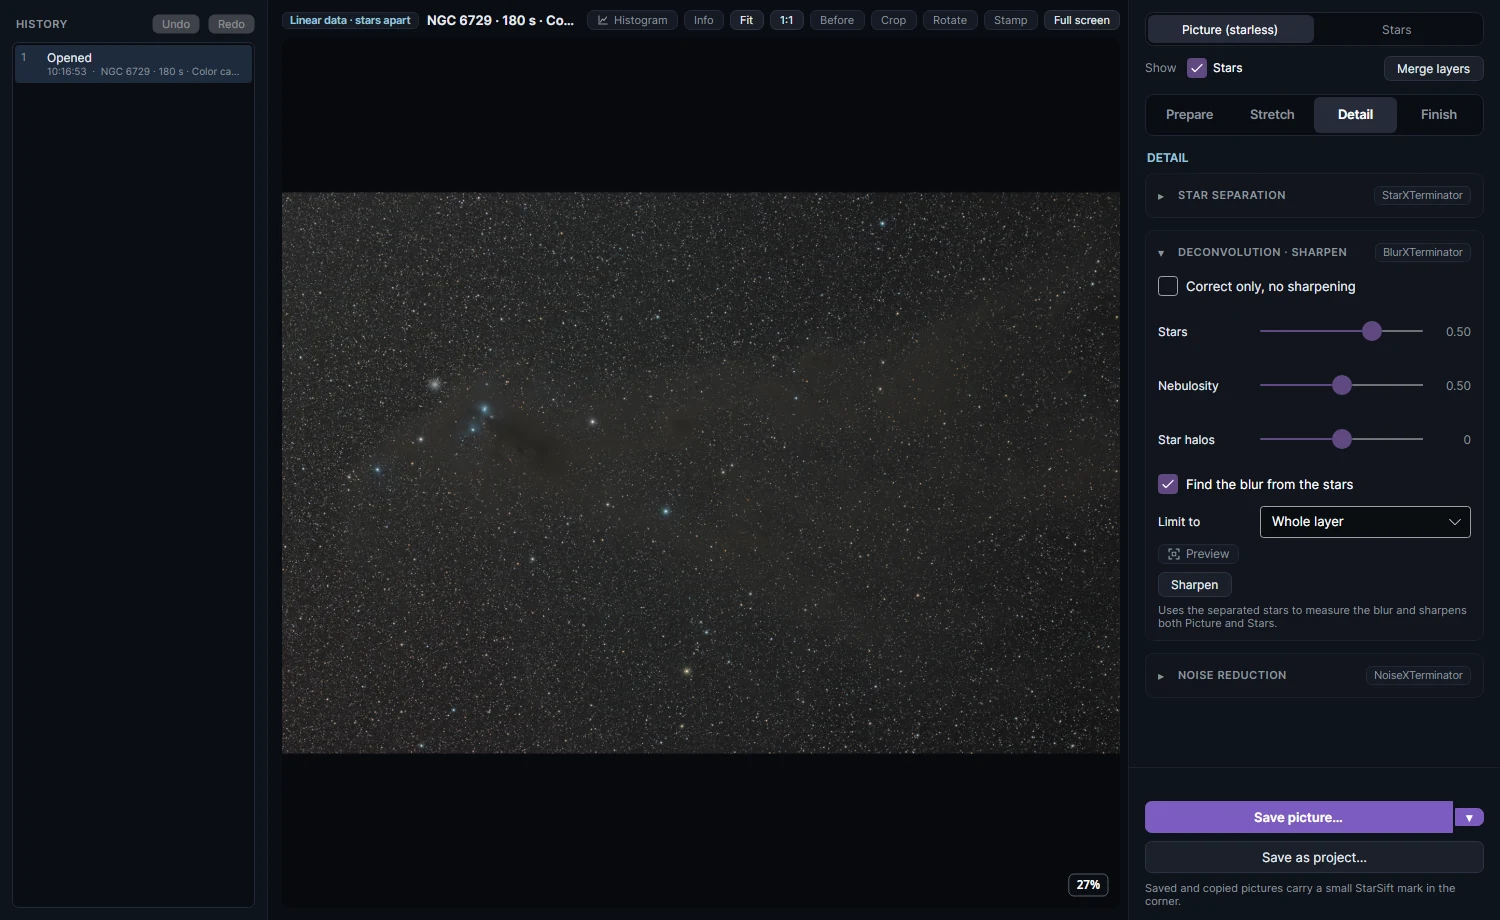
- Star separation: Separate stars takes the stars out into their own layer (StarXTerminator, StarNet2 or StarSift's own); Stars from… lays the stars of another picture over this one (another color picture of the target, a saved project, or a FITS, XISF or TIFF file), lined up by the stars, so it may be another crop, a mosaic of the field or a stack of another scale; a project that keeps its stars apart gives its stars layer as it is; Drop stars leaves them out. Unscreen the stars (StarXTerminator) takes them out so that screening them back gives the picture exactly as it was.
- Deconvolution · sharpen with BlurXTerminator or StarSift's own: Stars and Nebulosity say how much, Star halos shrinks or grows halos, Correct only fixes out-of-round stars without sharpening. With the stars apart, each layer is sharpened on its own, the nebulosity for the blur the stars show.
- Noise reduction with NoiseXTerminator, DeepSNR or StarSift's own.
StarXTerminator's Tile overlap slider runs from 0.00 to 0.50, with 0.50 (50%) as the default. Higher overlap can reduce square artifacts where processing tiles meet, at the cost of more processing time. The editor remembers your choice; the same slider is available on a workflow's star-removal step and is kept in workflow files and templates. Changing it affects the next star-removal run; existing starless images need to be made again.
BlurXTerminator and NoiseXTerminator also offer Tile overlap, starting at 0.20 (20%). These settings are remembered in the editor and saved in workflows. Settings → Tools → RC-Astro compute device selects Automatic, CPU or GPU for RC-Astro operations; Automatic is recommended. Workflow notes and editor history record the ML model and CLI version when available, and workflow processing notes are kept in the project details.
Sharpen before you reduce the noise, as the cards are ordered. Deconvolution is made for data that still has its noise: run after noise reduction, it sharpens the faint smooth patches noise reduction leaves into blocky shapes with pink or blue edges, round a bright star's halo most of all. The Deconvolution card warns when the picture was already denoised (in the editor or by the workflow); undo the noise reduction, sharpen, then reduce the noise again.
Limit to runs a tool only where a mask selects. Preview puts a box on the picture showing the tool at full size as you move its settings, before you run it on the whole picture.
Finish
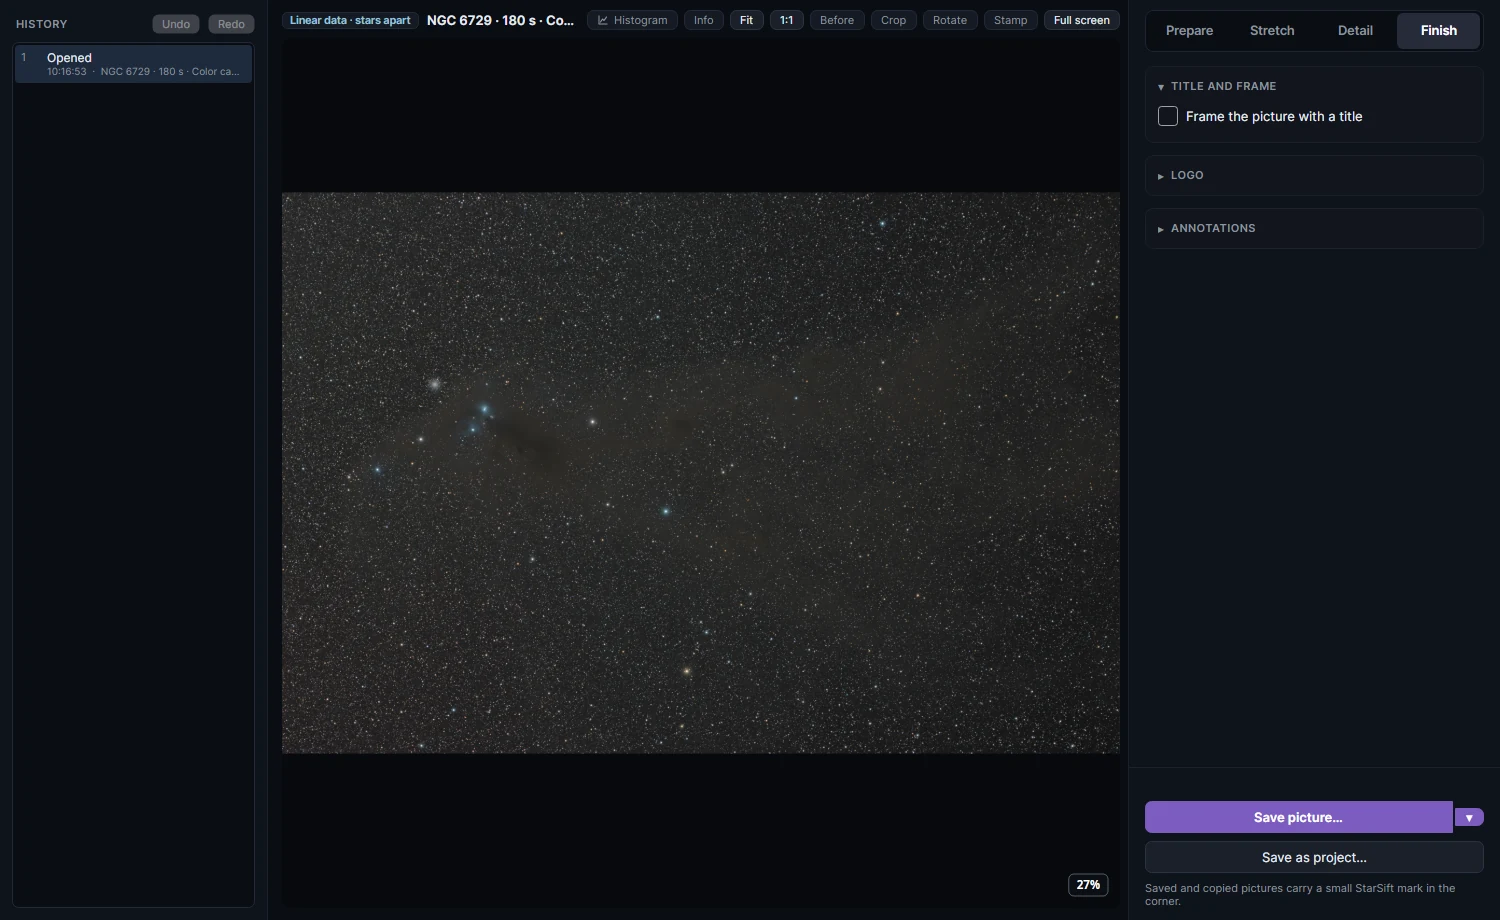
Title and frame puts a frame with a title round the saved picture; Logo puts your PNG, JPG or WebP in a corner or the frame; Annotations draws the objects, stars and constellations in the picture, from its place on the sky.
Above the picture
| Control | What it does |
|---|---|
| Histogram | The picture's histogram over it, with how much of the sky and the stars is clipped. |
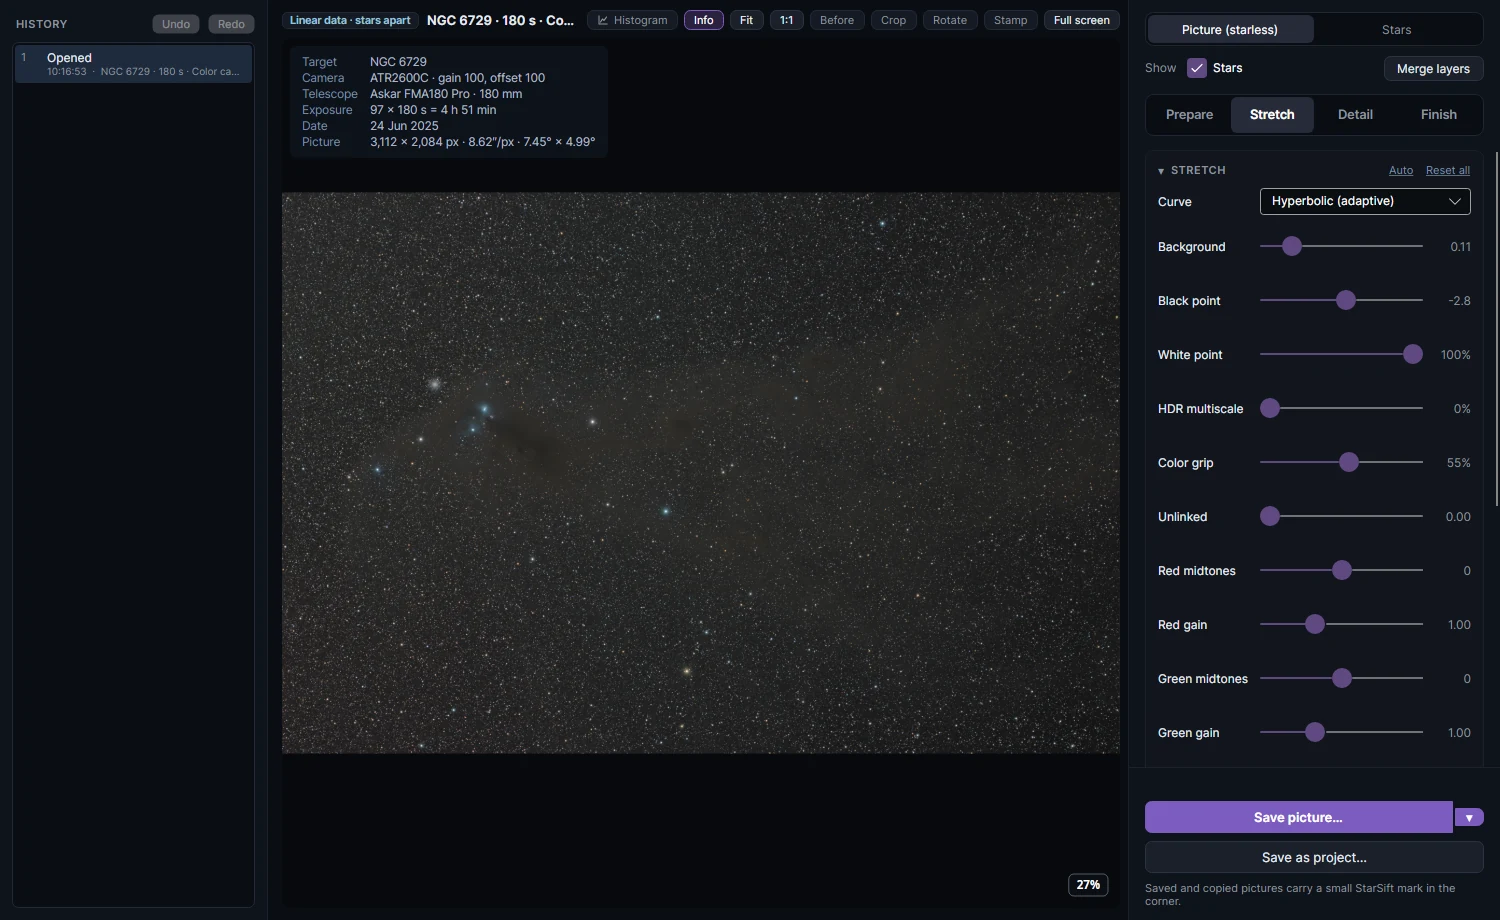
| Info (I) | The camera, exposures, filters, telescope, date, pixel scale and field over the top left corner: one line, all of it, or none. |
| Fit / 1:1 | The whole picture, or one picture pixel to one screen pixel. The wheel zooms, dragging moves, double-click switches. |
| Before | The picture as it was when the editor opened. Hold \ to peek. |
| Crop (C) | Trim the stacking borders or reframe: drag the box, pick an aspect ratio, Auto-trim borders. |
| Rotate (R) | Turn by 90°, mirror, flip, or straighten by any angle. |
| Stamp (S) | Paint over a blemish (a halo, a hot pixel, a trail) from a clean spot: Alt+click the source, then paint. Heal matches the level and color round the stroke, Clone copies as it is. [ and ] size the brush. |
| Full screen (F) | The picture alone over the screen. |
History
Every change is a line on the left: what was done, and under it the time and the settings. Click a line to go back to it; Undo and Redo (Ctrl+Z, Ctrl+Y) step through them. Moves of one slider within a moment are one step.
Combine images
Combine images… opens Combine images with the picture's own stacks (Ha, OIII… lined up on one another; for a mosaic, its channels by the palette it was made with), to add other stacks to, remake the palette, mix, write Channel Expressions, or merge stacks of one filter. The result opens as a new picture.
Saving
- Save picture… (Ctrl+S): JPEG, JPEG XL or a 16-bit TIFF, at full size. A saved picture carries a small StarSift mark in the corner.
- The arrow beside it: Copy picture (Ctrl+Shift+C) copies a JPEG at 80% quality, up to 4096 px on its longest side, to paste into a post or message. It also offers the JPEG as a file for apps that paste attachments. Save the linear layers writes FITS or 32-bit TIFF for another program; you can also save the stack files the picture is made from.
- Save as project… keeps the layers, the stacks and every setting, to open again from Projects. Ha and OIII layers are kept too, with the picture they went into and the Blend tab's settings, so they can still be tuned or switched off when the project is opened again. A line that a stamp stroke or color calibration changed the picture over after it went in is kept blended into the picture, as it can no longer be tuned. Closing the editor with changes asks whether to keep them as a project.